
We have all seen meal prep posts on Instagram or other social media where individuals show off their weeks’ worth of preps. Each meal positioned in an individual container that covers the top of their kitchen island. They have meticulously adjusted the color balance, the shadows and the saturation to make every portion of the picture look gorgeous.
You think, “That seems like a great idea, but it’s too overwhelming for me to tackle.”
Many people are drawn to meal planning and prepping because it ultimately saves them time and money while allowing them to have more control over their diets through pre-prepared, balanced meals.
So how do you get started? Do you have to prep 10 meals and take a perfectly curated shot of all the meals for it to be worth it? The answer is a simple no.
Step 1: Be honest with yourself and set a goal.
You should think about how much time you have to dedicate to meal prepping. Making a whole week’s worth of meals can take hours. If you are new to meal prepping, we recommend you cook 2-3 dinners on your “prep day” – for many people this tends to be Sunday, but another day may make more sense based on your schedule. Try this for a couple of weeks and see if it works for you. Then you can try incorporating 1-2 more meals during your prep – perhaps a couple of breakfast options.
Step 2: Consider how you can make meal prep easier.
Think about what cooking appliances you have in your kitchen: a stovetop, oven, air fryer, crock pot or pressure cooker?
You can choose meals that are cooked using these different appliances so you can multitask on prep day.
When it comes to fruits and vegetables, fresh is usually the best option, but canned and frozen are great, too! Just be on the look out for canned and frozen produce with added salt and avoid it if possible.
You can also buy pre-cut fresh fruits and veggies to reduced prep time.
Step 3: Plan your meals.
Make a meal plan for the week with a simple grid on a piece of paper. Write the days of the week across the top and breakfast, lunch, dinner and snacks along the left side. Note that not every cell needs to be filled out. Leave wiggle room for dinners with friends or other plans you may already have.

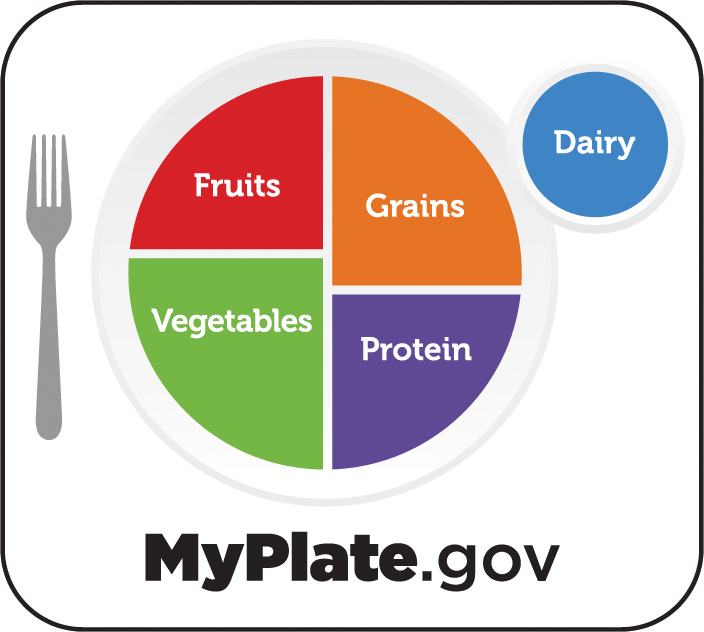
Pick meals and snacks based on your dietary preferences while trying to find the right balance of nutrition. It also helps to pick meals with different flavor profiles, so you don’t get bored of eating prepped meals. When thinking of nutritious, balanced options, this MyPlate graphic from the US Department of Agriculture can help.
There are SO many options online with recipes and meal prep ideas. Check out some of these websites for recipes and inspiration:
Step 4: Make a grocery list and stick to it.
Using the ingredients from the recipes you selected, make a grocery list of everything you need to prep your meals and snacks. Sometimes it helps to divide the list into sections to make your trip to the store even easier. Try splitting it up into the following categories: Produce, Pantry, Fridge/Freezer.
Another helpful tip is to be sure to go to the grocery store after a meal or even after having a snack. You don’t want to be making impulse purchases because you are hungry.
Step 5: Prep!
Prepping can be a fun! Get your comfort TV show queued up, start a new podcast or listen to your favorite music. This will help make the prep something to look forward to.
If you are using fresh, whole produce, start by chopping ALL of it first and separating it onto different plates(one plate for each meal). Having all your produced cut before you begin to cook will absolutely make things less hectic.
Have each recipe pulled up on different tabs on your laptop, phone or iPad for easy access.
Determine which meals need to cook the longest or have a portion of the cook time that is more “hands off.” For instance, most soups need to sit and simmer for about 20-30 minutes, and some dishes that go into the oven must cook untouched for 30 minutes. Start by getting those meals going and once they are in the “hands off cooking” stage you can move on to another meal.
Once everything is done cooking, let all your meals cool completely. This will help prevent condensation on the inside of your meal prep containers which keeps your meals from getting soggy.
Divide individual portions into separate containers for easy access.
And that’s it! The most important thing to remember about meal prepping and planning is that is doesn’t have to be all or none. You can simply plan out a couple of meals for the week and cook them on a prep day or wait for the day you’ll be eating them. It is all customizable to your lifestyle and preferences.
Happy prepping!
About WakeMed Outpatient Nutrition Services
Our licensed, registered dietitians are committed to providing evidence-based, scientific nutrition advice. Nutrition counseling is offered for:
- Adult Weight Management
- Bariatric Surgery
- Diabetes
- Celiac Disease and Other Food Allergies
- Heart Health
- Vegetarian Nutrition
- Pediatric Weight Management
- Other Pediatric and Adult Nutrition Issues
- Wellness
- Gastrointestinal Disorders (IBS, diverticulitis)
For more information, or to schedule an appointment, please call or have your physician FAX a referral to us. Insurance coverage and costs may vary.
Phone: 919-350-7000, option 1, then option 3
FAX: 919-350-8959


You must be logged in to post a comment.